Showing posts with label natural dyes. Show all posts

Friday, August 19, 2011

book report: wild colour

i've been on a bit of a travelling roadshow lately with the hats, and haven't had a chance to do much dyeing.  but fortunately i'll be working for the next couple weeks from the little village i grew up in, and this time of year is fantastic for gathering local wild dyestuffs.  and i will.....

in the meantime, i wanted to put up a little natural dye book report of sorts.  over the years i've collected quite a few natural dye books, so i thought i could share little mini-reviews of my favorites with you.

i'll begin with wild colour, by jenny dean, which is one of the two dye books that i use the most, and recommend the most when people ask me.  my copy is older, i think there is a new edition with a different cover.


i think it's really the best all around natural dye book out there, and has clear instructions and great photos for most everything you might want to know as a beginner dyer, including several things you don't see in other books, like how to make your own mordants:


and also great experiments to try, such as this one, making 25 different colours from one dyebath:


the second half of the book lays out one page per dyestuff, and as the title suggests, it focuses on many dyestuffs that can be found in the wild.  of course, this depends a lot of where you live (the author lives in england), but many (though certainly not all) of the dyestuffs listed are things that i can find in southern ontario.  some, like goldenrod, are abundant right here in downtown toronto (right now!):


my only real complaint with this book is the kind of colour swatches that are used to demonstrate the potential colours within a dyestuff.  almost all dye books i've seen use photos of actual fibres which have been dyed.  in this book, it's a kind of pantone colour swatch, which i find can be a bit misleading.  for example, if anyone has ever been able to achieve such beautiful shades of soft pink using birchbark, like the swatches shown, i'd love to see them.  in my experience, you're more likely to get a range of browns with pink undertones.


but all in all, this is one of my two most valuable natural dye resource books, and i highly recommend it.  back soon with some actual dyeing!
 

Thursday, July 7, 2011

a rainbow in the shop

over the long weekend, my very very helpful super duper mom and aunt helped me skein up a bunch of the wool that i've been dyeing here and there over the spring.  i spent this afternoon photographing everything, and now it's all available in my shop.

all of the yarn is 100% superwash merino wool and dyed with either plant or insect dyes.  it's a beautifully soft yarn, and the perfect gauge for a variety of projects.

unknowingly, i had dyed up a real rainbow of colours, so i couldn't help taking a bunch of shots of the wool arranged as such.


Tuesday, June 28, 2011

ready to dye

if any of you started a natural fermentation vat of your own, by now it may be ready to dye. 

the vat is ready when all (or at least most) of the oxygen has been reduced out of it.  indigo dyeing is quite magical - the actual dyeing takes place not in the vat, like an immersion dye, but when the fibres are lifted out of the vat.  the oxygen hits them and they turn blue.

the first sign that things are going well with your vat is that you will have a kind of coppery sheen on the top of it - this may happen in the first few days even.  you know how gas spilled on the sidewalk has kind of a rainbowy, shimmery quality to it?  like that.

but to know that your vat is actually ready to go, simply take up a small scoop of the liquid in a clear container.   when healthy, the vat liquid will no longer be blue, but a greenish, yellowy blue, or if very healthy, amber.  jim liles always describes the colour as dark beer colour.

and of course the ultimate test is to stick a piece of fabric in there.  i have a pile of the selvedge edges of white fabric that i use to test my vats.  stick a piece of fabric in there, and after a few minutes when you pull it out it should be a bright, vibrant, sometimes almost neon green.  and then the magic.  the colour will slowly shift before your eyes and become the beautiful blue that is indigo.

i tried to take a photo to show this, and didn't have too much luck, since the colour shifts pretty quickly, but you can get a bit of the idea here.  the fabric on the left has only just began to turn blue, while the piece on the right is fully oxydized.


if you take your fabric out and it is already blue, or the liquid you take up in a container is still blue - your vat is not ready, and the dye will not stick.  the oxygenation process has to happen.


in other types of vats, like the zinc-lime, another sign of health is that a 'flower' forms on the top of the vat.  this will depend partly on the size of your vat - when i did my very tiny glass jar, the surface of the vat was quite small and i would only have a few little bubbles on the top.  but now that i have a bigger vat going, i've also got quite a nice little flower happening:


but, i will note that the flower on my fermentation vat is much smaller (about 2 inches across), then the one on my zinc-lime vat (about 5 inches across), even though the vats are now the same size.  photos of my zinc-lime flower, by much more skilled photographers than me, are here and here.


fingers crossed that your vats are happy!

Monday, June 20, 2011

natural fermentation recipe


so i promised last time that i would detail out how i made the natural fermentation vat that we used at our dyeing party last week.  the recipe i used comes from cheryl kolander at aurora silk and you can find it right herethere is also a very similar recipe in "the art and craft of natural dyeing" by jim liles, which is one of my two natural dye bibles that i refer to all the time.  he has several indigo recipes, including old fashioned sig vats, which use just indigo and urine.  but i am nowhere near that hardcore.  and my vats are already stinky enough, thank you very much.


in any case, as i said, the recipe is very simple.  for my medium sized vat, which i did in a big stock pot (holds around 2 gallons, or 7-8 litres) i combined:


warm water, almost to the brim
50 grams of finely ground indigo
28 grams finely ground madder root
28 grams regular old wheat bran
170 grams soda ash


stir very well (especially when you add the indigo - it is notoriously tough to dissolve), put a lid on it (important, as the point is that you're trying to reduce the oxygen out of the vat), and put in a warm place.  


and that's it!  the key is that you have to look after it a little bit, but all this means is that you need to stir it once a day (quite well), and make sure it stays warm.  as i said, when i did this vat in the winter, it took almost 6 weeks to be ready to dye, but the vat that i started recently and have been keeping in a warm attic only took 5 or 6 days.  


gotta run to teach a class at the workroom (felting this time!), but i'll come back in a day or two and talk about how you know that your vat is ready to dye.


any questions so far?

Friday, June 17, 2011

dyeing party


had a little dyeing party in the backyard last night.  we had trouble getting the zinc-lime indigo vat going in the advanced dyeing class at the workroom, so i had promised the students that once i got mine going at home, i would invite them all over for some dipping.

and it was even better, because since then i have also gotten my natural fermentation vat going.  the mini one that i wrote about a few weeks ago worked out so well that i started up a second, slightly bigger one.  i had only ever done a natural fermentation vat once, years and years ago, and i had never really been motivated to do it again, since that vat took a really long time to be ready (six weeks!), and even then wasn't very strong.  but i now realise that the problem wasn't the vat, but the time of year.  last time i tried it was winter, and i struggled to even keep my vat at room temperature, just like my zinc-lime vat this past winter.  

but.....now that it's warm, and i've got my vats up in my (cooking hot) attic studio, everything is coming up blue.

the natural fermentation vat is really quite easy, and last night we were getting some beautiful blue in a wonderful range of intensities.  i linked to the recipe that i used a few posts ago, but i'll come back soon and do a post with more details of how i made my vat, and perhaps some discussion of the different types of vats.

but first, some photos of our dyeing fun:


it was lovely to see the backyard all covered in fabrics and yarns in various stages of dipping and oxydizing.


one of my favorite parts of shibori is the 'reveal', when you unfold the fabric and see what kind of design you've created.  this is karyn's lovely window pane piece.


susan put on a pot of cochineal and added some lime juice to it.  the acid from the limes brings out the red, especially on wool.  i dyed the ends of a few skeins of superwash merino to create some new variegated colourways that i'll have in the shop soon.


the evening was overseen by my trusty studio assistant, who managed to escape the fate of indigo dipped paws.

it was a great night, so much fun to be dyeing in a group like that.  arounna has posted some lovely photos, including one of the indigo flower on top of the zinc-lime vat (which is how you know your vat is ready to dye).


Tuesday, June 14, 2011

solar scarves in the shop!

after nicole posted some lovely photos of herself wearing the solar dyed scarf she won in my giveaway, a few of you wrote to ask if there were any more available.  so i've been bundling and waiting, bundling and waiting, and have just listed a few solar scarves in my shop.

the process requires a bit of patience, since the dyes are set with only the heat of the sun, and so need to be left to 'cook' for at least a week or so.  but it's so satisfying to open the bundles up for the big reveal.  as per usual, i don't feel like my photography skills do the colours and details in the patterns justice, but i'm working on it.....


Tuesday, May 31, 2011

back to the blue

i had basically put my zinc-lime vat on hold completely, since i was having too much trouble keeping it warm enough.  i never thought that it would be the end of may before we actually felt some sustained warmth here in toronto, but that has been the (grey, dreary, rainy) case.  

and now, finally and suddenly we have seemed to have skipped spring and headed right into the heat of summer.  i took this opportunity to revamp my vat, and also to move it to my third floor studio, which is suddenly hot as an oven.  after just one day there is already a flower forming on the top of the vat, so i'm pretty hopeful that the heat is going to be just what my fussy blue friend has been wanting all along.

inspired by this post by eva, i've also started a small fermentation indigo vat, which uses wheat bran, ground madder and soda ash as the reducing agents.  i had one of these types of vats going years ago when i was in art school, but it didn't survive my move back across the country.

for some reason my instinct is to create giant vats of indigo, perhaps a leftover from when i was dyeing large skeins of wool for weaving. but i liked how eva's vat was so small - it makes it somehow seem more manageable, so i've followed suit and done just a small jar which can sit happily on my desk.


i used cheryl kolander's recipe from aurora silk, and just scaled the ingredients down proportionally.  it's the same recipe i used last time i did a natural fermentation vat, and while i did have success, i found that it took my vat more like six weeks to be ready to dye, rather than the one that she lists.  but it only requires a little stir every day so it's pretty low maintenance. i was sure to use a vessel with a lid that seals, since i learned last time that this can be a bit of a stinky venture.

Friday, May 20, 2011

shop open and giveaway

very excited to tell you that my shop full of naturally dyed wares is now open.  you can find it here. the shop is mostly full of the shibori scarves i've been experimenting with - they're all 100% organic cotton, lovely and lightweight and perfect for spring and summer.


to celebrate, i'm going to do my first ever giveaway, and offer up this solar dyed scarf that i talked about two posts ago.  it's the one currently on my blog header.


to qualify to win, please visit my shop, then leave a comment here telling me which is your favorite scarf.  since it's a long weekend here in canada, i'll keep this open until tuesday at noon.

you can also still always find me at www.juliesinden.com.

and now......i'm heading to the cottage.  happy long weekend everyone!


Sunday, May 15, 2011

solar dyed bundle

thursday was the final night of the advanced natural dye class i tought at the workroom.   one of the things we tried out was solar dyeing, and most of the gang combined it to be a bundling project as well.  usually i don't do any dyeing myself in the class, but on the second week i joined in on wrapping up a bundle of fabric with some dyestuffs.  we let them sit in the shop window in the sun for a week, and on thursday opened them up to unveil some beautiful colours.


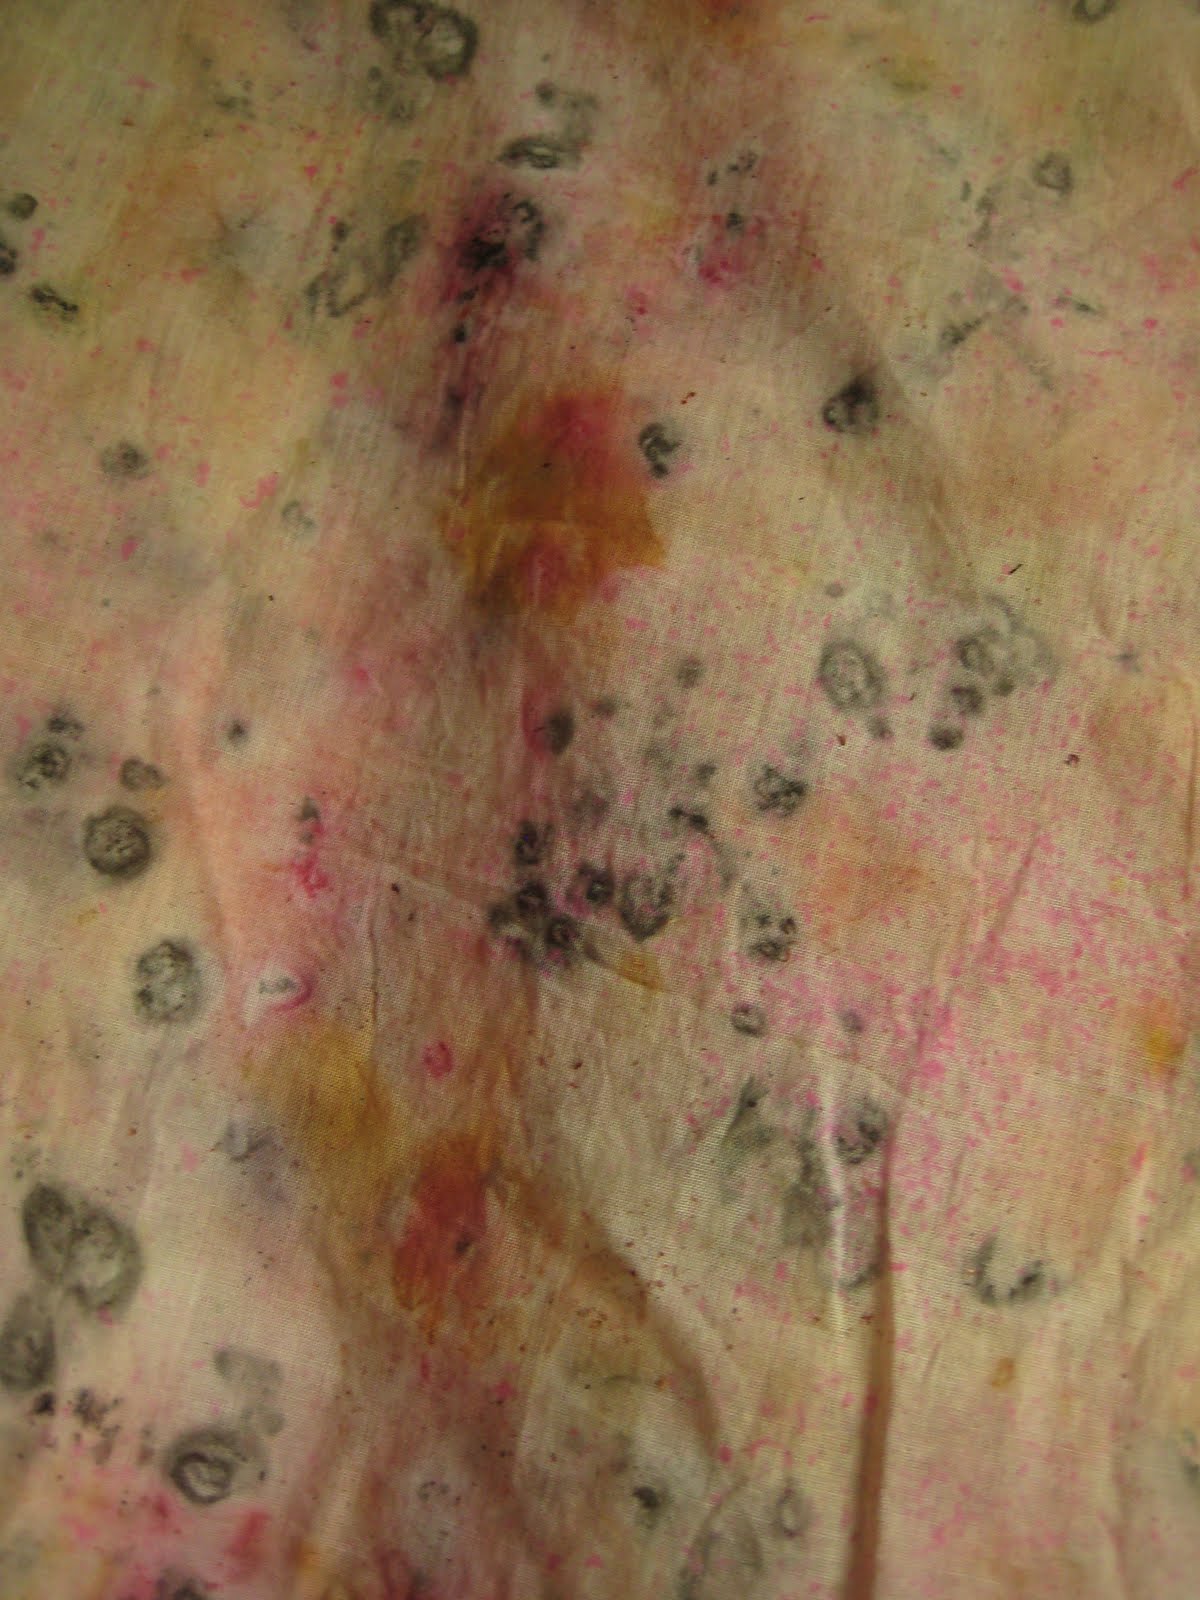
bundling and solar dyeing are both as easy as they sound.  if you've never done any dyeing at all before, it's a great easy way to begin playing around.  simply lay out a piece of fabric, cover it with flowers, leaves, berries, whatever you think might give some colour (onion skins work wonderfully), then spray it all so that it's wet, roll or fold it up, then leave it in a sunny place a clear plastic bag or jar (full of water if you like).  wait at least a week, and unroll to reveal!  pre-mordanting the fabric will give you stronger, more washfast and lightfast colours, but this process is so easy and satisfying that the longevity of the colour needn't necessarily be the ulitmate goal.


my bundle contained some madder and osage (traditional dyestuffs), some onion skins, as well as a bunch of petals from various cut flowers that had just wilted at my house.  it's birthday season where i live, so there was a fair variety, including hyacinth, tulip, renonculus and peony.

Tuesday, April 26, 2011

growing colour

i received a small but exciting package in the mail today - the seeds that i had ordered for my dye garden this year.  i got them from richters, a great seed company here in ontario that specializes in herbs - they have tons of medicinal herbs as well as the dye ones which i ordered.


i grew some weld a few years ago, and was thrilled with the yellow colour that i helped create, literally from the ground up.  this year i decided to try a variety, including weld, coreopsis, golden marguerite, black hollyhock, dyer's broom and a few different kinds of indigo.  i think i'm already a bit late for starting the indigo seeds, but i'm going to give it a go anyways.

i always find myself realising that i'm too late for starting seeds indoors - so many things seem to call for being begun 4-8 weeks ahead of outdoor planting, and i seem to miss this (probably because at that time it's usually still snowing, and it's hard to even imagine gardening yet).  but this year i did manage to get some veggie seeds on the go, relatively early, and my studio window is delightfully full of little green sprouts right now. 


Wednesday, April 20, 2011

springtime skeins

well, for the last little while here in toronto the only colour around has been coming out of the dyepot.  i hate to reinforce any stereotypes about canada as a cold, barren wilderness, cause it's actually really beautiful here for a big part of the year, and in the summertime it's fully hot and humid.  but this year.....well, spring is certainly taking it's sweet time in arriving, and we've had i don't know how many days of cold, grey rain.  it's my poor husband's first full winter here, and back in february he declared that he didn't think the canadian winter was all that bad, and that people exaggerate.  and now....well, now that it seems to still be winter, he's changed his tune a bit.   i've noticed him more than once checking the forecast in paris, where he used to live, and the reports of sunshine and 20 plus degrees do nothing to lift the spirits.

but enough complaining, and time for some colour.  i dyed a bunch of skeins of superwash merino this week - a beautiful soft yarn that takes the dye amazingly well.  i've got a few projects to knit up with this yarn, and will also wind off some small skeins to sell.


some lovely variegated shades of cochineal


a mixture of onion skin, osage, madder and indigo.  i wasn't immediately taken with any of these three shades when they first came out, but then when i placed them together it produced a fun, kind of retro colour scheme that i quite enjoy.


onion skin and osage on the bottom, and straight weld on the top.  yellow is by far the easiest colour to achieve with natural dyestuffs (or at least the majority of dyestuffs yield some kind of yellow), but the wonderful thing is what a wide range of shades it's possible to coax out of the pot.  i was actually aiming for a colour somewhere in between these two, but i've also learned over the years that it's better not to have too many expectations as far as precise colours, and indeed both of these are quite lovely yellows i think, even if they weren't my original 'goal'.

cross your fingers for some sunshine.....

Friday, April 15, 2011

friday colour

i have been doing a lot of dyeing in the last two days, and have lots to show you all.  for now, here's a quick couple shots of those last two scarves, the ones i started way back herethe clamp-dyeing of these wasn't very successful, but while i had a bunch of pots going, i decided to do a little dip dyeing of the scarves i had set aside.  the first is my favorite, the whole thing was dyed in an osage bath, then i dipped parts of it into madder and cochineal baths.  the result is a lovely mix of yellow, orange and a kind of purply-pink.  i only wish my photography skills could do it justice.


the second one started out pink from cochineal, and i dipped part of it in another cochineal bath to make it darker, and another part of it in an iron modifier, to make it purple-ish.  it's very subtle, and perhaps hard to see in a photo, but it's a lovely range of pinks through purple.

Thursday, April 14, 2011

blue

i have all sorts of natural dye projects half on the go, and felt a little bit like i was being held up by my zinc-lime indigo vat, which is waiting for a couple key ingredients - some more zinc to arrive in the mail, and for the weather to warm up a bit.  last week i took all the liquid out of the vat and heated it up pot by pot, then wrapped dear little vat up in an emergency blanket and some regular blankets.  and still, three days later, it was back down to 60 degrees.

so.....i decided to take a little pause and make myself a thiourea-dioxide vat - a quick easy vat that can be ready in about an hour.  i clamped up a bunch of fabric, and did some dipping:


you might wonder why i would even bother with a zinc-lime vat if it's possible to do a thiourea vat in just an hour.  and there's a couple good reasons.  once you get your zinc vat going (easier said than done) you can keep it going indefinitely with only a little bit of maintenance.  some people have vats that have been kept alive for years and years.  so your vat can be there, ready to dye whenever you are.  the thiourea vat only lasts for as long as you keep it hot (110-140 degrees).  you can heat it back up again, and add more reducing agent, but it's just not quite the same.

the other main reason, and for me the biggest, is that with the zinc-lime vat it's possible to build up much deeper shades of blue.  with the thiourea vat, even with multiple dippings, it's only really possible to achieve a relatively pale blue.  this is because the thiourea dioxide is actually a colour remover (it's what you would use in discharge printing).  so unless your vat is exactly balanced while you're using it, you may be stripping the colour off from the previous dip every time you dip.  with a zinc-lime vat it's possible to build up a range of blues, all the way to almost black.

the first image is for a project that i'll be pairing with a nice deep orange, so i would like the colour to be much darker, but the scarves in the second image will be layered with other colours, so the pale colour is actually fine.  and mostly, i'm happy to have done the vat, just to get the ball rolling a bit.  i'm hoping to finish up enough pieces to open up a small rubia weld shop next week......

Thursday, March 24, 2011

cooking up some blue


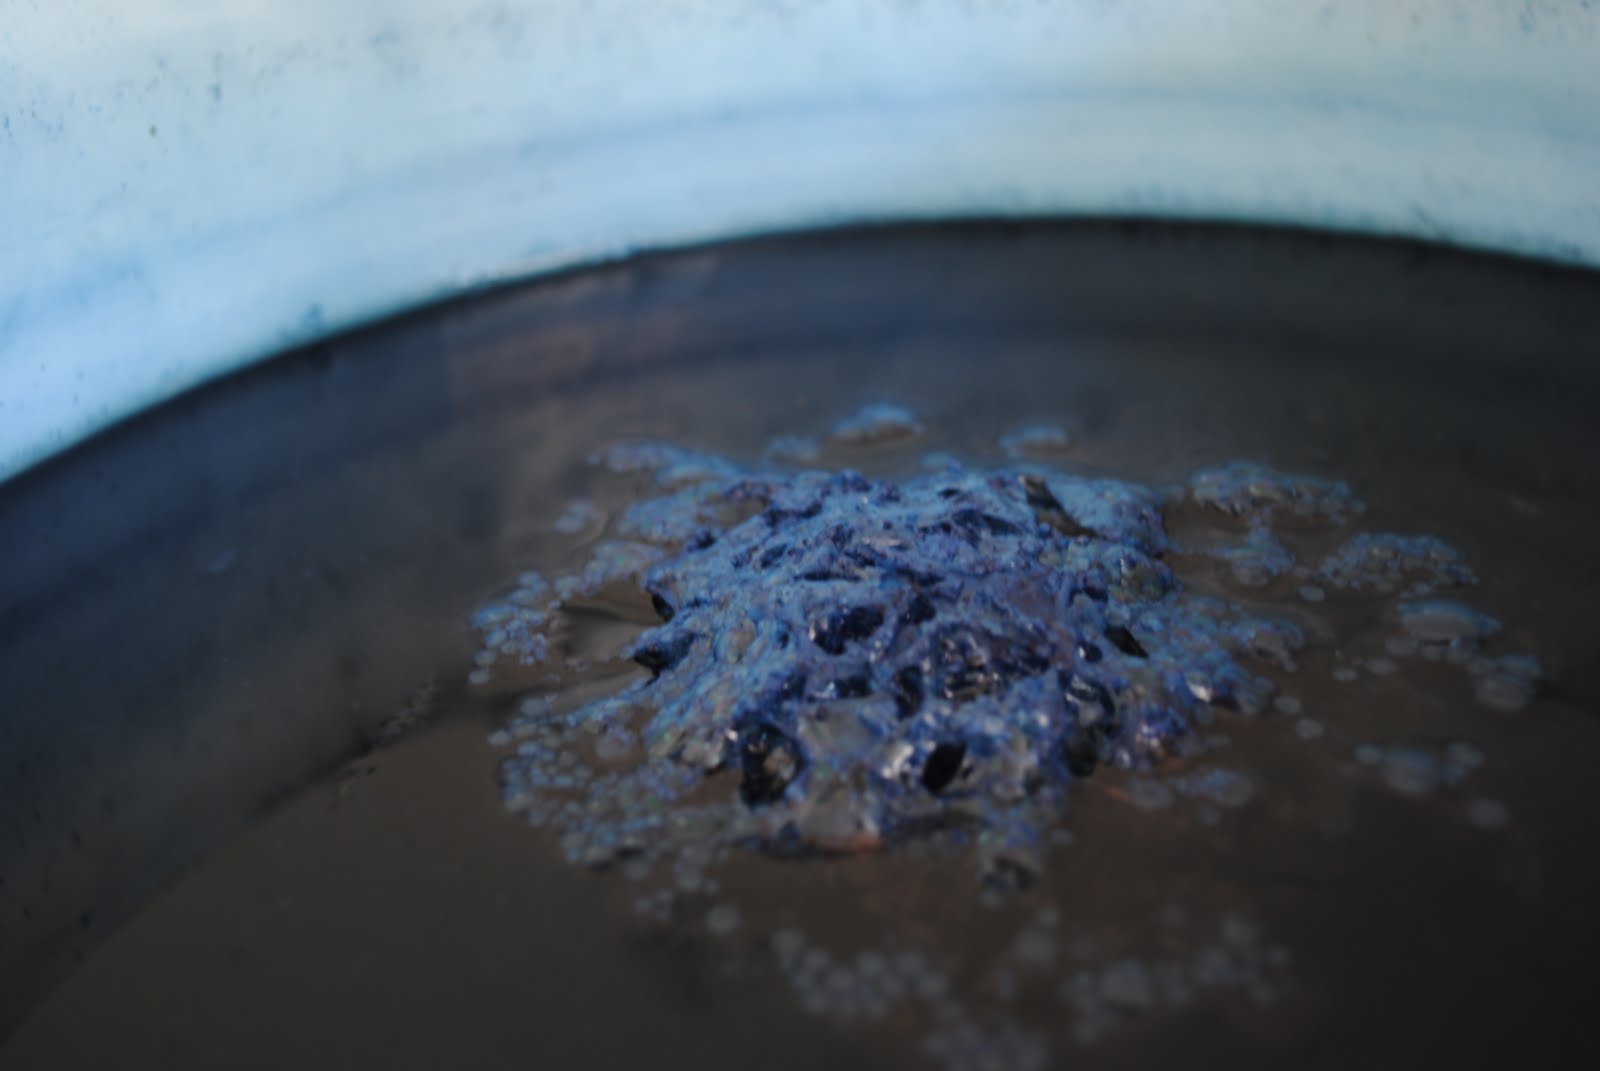
i'm making a zinc-lime indigo vat right now, a type of vat i haven't tried since i was in school.  it's a multi-day process, including the first day which had me feeling a little out of place at chemist supply warehouse, where i found myself saying things like CaO and the very helpful man said things like Ca(OH)2. Being a natural dyer does turn you into a bit of an amateur chemist sometimes.  the vat is happly fermenting away, and the photo above is what the top of it looks like right now.  i thought it might be ready to go when i got home today, but i have to wait a little longer until this bubbly scum turns into what's called the 'flower' - basically a big mound of foamy blue.  right now i've got the foam, but it hasn't shaped itself into the flower yet. indigo is like magic, and you can't rush magic. hopefully by tomorrow, and i can get dyeing....

Saturday, March 19, 2011

hits and misses

well, the experiment with these scarves was to see what would happen if i used some shibori resist techniques, but then rather than use the traditional indigo, use an immersion dye.  i already knew that the reason indigo is the dye of choice for shibori is that the item being dyed doesn't need to stay long in the bath, and indigo is relatively slow to strike.  so i knew what i was up against - dyeing a shibori item in a cochineal bath, for example, means that it has to cook in the bath for at least 45 minutes - tons of time for the dye to bleed in, and i'm trying to keep it out.  which is of course what happened.  my first attempt was a clamped (or itajime) piece - basically you fold the fabric up and clamp pieces of wood on either side of your bundle. with indigo it's possible to get a fairly clean crisp line, and a huge contrast between white and blue.  but as you can see, my result was much more blurred and subtle - so this is one of the yellow osage scarves from the last post, clamped then overdyed with cochineal:


much subtler than what i was going for, but still quite lovely i think.  and of course when you actually wear a scarf, the pattern gets a bit lost anyways and it becomes a lovely jumble of soft yellows and pinks:


so my next thought was that rather than overdyeing my cochineal scarves i would try to just post-mordant them, since this means less time in the dyebath.  i clamped up one of my pink cochineal scarves and did a post mordant of iron, which turns cochineal from soft pink to a lovely muted purple.  again, the results were not what i had hoped, but still interesting:


and again, quite a nice jumble of colours when worn:


i also tried one of each colour scarf pole-wrapped, which is one of my favorite (and easiest!) shibori techniques.  the yellow scarf worked, kind of, but for the pink one the iron bled completely through, so i was basically left with a solid purple scarf (though at least it's a gorgeous colour).  here's a photo of the osage then cochineal scarf - you can see a bit of the pattern of the pole wrapping, but it's very far from the dramatically beautiful results you can achieve with indigo.


so....not so great.  but i've also realised that the next big challenge in having a blog is getting better at taking pictures - especially of static things like fabric, and especially when the thing i may want to most convey is colour!  not so good at it.  if anyone has any tips for how to take photos to give the best representation of the colour of things, well.....i clearly need help!

i was happy that i kept one of each of these scarves behind.  i'm teaching the final session of this round of natural dyeing at the workroom on monday, and we'll be dyeing with indigo, so i plan to take the leftover vat home and attempt to do some 'better' shibori with the indigo........

Thursday, March 17, 2011

step one

i've been teaching so many natural dye classes at the workroom, but felt like i hadn't been doing much dyeing of my own lately.  my hats keeps me so busy for so much of the year, but the late winter and spring is when i have the most time to play and experiment, and it's this that i'd like to be sharing with you here.

so, i wanted to play around with some basic shibori techniques, and decided that scarves are an easy vehicle to start with.  shibori is generally done with indigo or other vat dyes, but i wanted to see if i could have some success using immersion dyeing.

as always with natural dyeing, i began with mordanting the fabric, first with a tannin, since my fabric is a plant fibre (i found some lovely bamboo jersey which is super soft and has a beautiful drape), and then with a combination of alum and tartar.  i'm more used to dyeing wool, which doesn't require the tannin step, and i'm always a bit surprised at how brown the tannin turns the fabric:


next i decided to begin with a first layer of colour, unlike traditional shibori, where you would begin with white fabric.  i had six scarves, so i dyed three with osage and three with cochineal. the resulting colours were a lovely and soft yellow and pink:


i have the scarves all clamped and bound up now, ready for the next layer of colour......